I have been greatly blessed by family and friends while I recouperate.
We had 3 weeks of delicious meals delivered to our home for dinner ~ by mom, my sister, and our church family.
Greg, Will and Amy did loads of extra stuff ~ while I just sat on the couch. Grocery shopping, errand running, laundry,cleaning, and cooking. Amy came one day and took down the holiday decorations, packed it all up and Will hauled it to the basement.
I've had loads of messages on facebook, email and Instagram praying for me and encouraging me.
A church friend came twice to spend the afternoon and brought lunch both times.
And thanks to the willingness of Amy, Katie, Jennifer and Mom ~ we had a birthday party for Greg the end of Jan. They did everything ~ cooking, cleaning up, etc.
So here is the update ~
I am getting out some ~ but super paranoid about germs ~ carts, handles, people coughing, etc.
My energy is coming back, I am not fast but I can walk around a store.
I have taken back over cooking duties and laundry detail.
I have been off oxygen for 12 days ~ that is awesome!
Accomplishments ~
I have found loads of pins on pinterest for my instapot.
I cross stitched 6 ornaments for Amy and Austin for Christmas 2018.
Our new bible study at church starts tomorrow night ~ I am on week 3 in the book.
Have crocheted some dishcloths using the scrubby yarn from JoAnns.
Have sewed a tablerunner, and 3 quilt tops for our local Pregnancy Resource center.
Have quilted a bunch of sets of potholders.( I was so excited to sew again)
Greg and I bought the tv series JAG and we have been watching it at night.
Thankful for ~
the blessings of friends and family
returning health
fabric scraps
my personal shoppers
my husbands care
answered prayers
laughter and mischevious-ness of my grandsons
Showing posts with label From the Craft Room. Show all posts
Showing posts with label From the Craft Room. Show all posts
Tuesday, February 6, 2018

Tuesday, March 28, 2017
Quilt Blocks
About 5 weeks ago, I saw a facebook ad for a Block of the Week quilting challenge ~ that would last 9 weeks. Since this is a craft I want to get better at, I signed up for it, not realizing it started the next day. Yikes! Now to find some fabric to use...I went shopping in my craft room and found some pretty coordinating pinks, grays, and whites (this was from a JoAnns sale years ago where the calico fabrics were .99, I bought several sets of coordinating fabrics). I printed out the 1 pattern and got to work cutting and piecing, and seam ripping, and resewing and teeth gnashing, etc. This challenge has a facebook page that you can join and with 10,000 members you get lots of helpful advice and a load of inspiration and fabric choices that others are using. Since they published a picture of the finished quilt, some have even gone ahead and done the whole thing....without a pattern or specific instructions~ this had actually caused quite a bit of ugliness with the do one a week crowd and the lets get it done crowd. Personally, I am quite impressed with the fact that some can do this and figure it out on their own ~ I am not one of those folks. Anyway, here are the 5 blocks so far.


 One of the awesome tips I heard from many people was to iron the seams open instead of the traditional ironing the seam to the darker fabric. This has made it much easier for me to match up all those corners and feel somewhat successful in this endeavor. Its fun to post the picture each week when the block is finished and to see what others have done.
It is amazing to me each week how different the block looks done in different fabrics. I love to see everyones creativity. I made a comment under last weeks block about being thankful that not every square contained a 1/2 sq triangle and ended up in a great conversation with the gal leading the challenge and contributing the blocks for the challenge.
These blocks end up being 16 inches square ~ now I have to figure out what I am going to do with them when finished....they would make a cute baby girl quilt ~ if only I had a granddaughter!
There is talk of another challenge and several have posted challenges from different sites. So I am checking them out too~ time to use all that fabric and practice some new techniques!
Thankful for ~
helpful hints
encouragement
inspiration
sweet comments
a fabric stash
fun interaction


 |
| After I finished this one and put the pic on fb, Amy came in and told me one of the blocks was wrong. She had spotted the top right block turned the wrong way...out came the seam ripper and it got fixed. |
 |
| I had to pull in another fabric from the gray/pink/white collection for the outside corners, since I was running out of one. 5 blocks down 4 to go. |

It is amazing to me each week how different the block looks done in different fabrics. I love to see everyones creativity. I made a comment under last weeks block about being thankful that not every square contained a 1/2 sq triangle and ended up in a great conversation with the gal leading the challenge and contributing the blocks for the challenge.
These blocks end up being 16 inches square ~ now I have to figure out what I am going to do with them when finished....they would make a cute baby girl quilt ~ if only I had a granddaughter!
There is talk of another challenge and several have posted challenges from different sites. So I am checking them out too~ time to use all that fabric and practice some new techniques!
Thankful for ~
helpful hints
encouragement
inspiration
sweet comments
a fabric stash
fun interaction
Monday, February 6, 2017
Cross Stitch from Pinterest

 |
| I need to stitch this NOW! Great thoughts for calming my over active mind. |


Thursday, September 22, 2016
Sewing Headbands
This week I have been making headbands for our Operation Christmas Child shoeboxes. These are costing me $0 since I already have everything....the fabric used is scraps. When I organized all my scraps months ago, I cut these out, placed them in a plastic container....and forgot about them. Stuff got piled on top of my container and "out of sight, out of mind" happened ~ I uncovered it this week! Many years ago I bought a handy, dandy tube turning tool, and never could figure out how to use it ~ this week I figured that out too. Products really need to come with explicit directions for "dummies".
*when inserting the dowel you need to have enough fabric "caught" to encase the dowel ~ kind of like a fold of fabric. Otherwise the dowel shoves thru the tube with no fabric and accomplished nothing but frustration. Once I figured out the trick, my fabric turning went a lot quicker. In other words....play with it till ya find out what works for you!
The link for the headbands is http://www.happytogetherbyjess.com/double-sided-fabric-headband-pattern/. My suggested to slightly change her directions is....to sew one side of the headband and press, then turn under both ends, press and sew. Then sew the other side and turn, then press. It seems like this would be a whole lot easier than trying to shove the ends up to encase them in the seam after the top was sewn on both sides. I am going to try this next time...because I did it the "shove" way this time. Even if you don't sew the ends, you can press the ends.
Happy Crafting!
 |
| insert the plastic tube into the fabric tube |
 |
| shove the end of the fabric into the plastic tube with the dowel |
 |
| viola....it works. *see further instuctions below |
 |
| fabric tubes ready to be ironed and attached with elastic to headbands |
 |
| finished headbands ~ ready for shoeboxes |
The link for the headbands is http://www.happytogetherbyjess.com/double-sided-fabric-headband-pattern/. My suggested to slightly change her directions is....to sew one side of the headband and press, then turn under both ends, press and sew. Then sew the other side and turn, then press. It seems like this would be a whole lot easier than trying to shove the ends up to encase them in the seam after the top was sewn on both sides. I am going to try this next time...because I did it the "shove" way this time. Even if you don't sew the ends, you can press the ends.
Happy Crafting!
Tuesday, July 26, 2016
Applique
More chicken applique from my set! Love finding fabric scraps to use!


 Thankful for -
Lots of fabric scraps
Seam ripper (mistakes happen)
Beautifully colored threads


Lots of fabric scraps
Seam ripper (mistakes happen)
Beautifully colored threads
Friday, July 22, 2016
Sewing Time
In all our house busyness, and gardening work and preserving the bounty work, I haven't sat down at my sewing machine in weeks. Quite sad! This week, I've had 2 days to sit down and work on machine applique projects ~ a new technique to me. I did my first project on a scrap piece of fabric leftover from another project, it turned out great! Then I moved to a kitchen towel! The top chicken is my first project on Wed. and the 2nd was my Thursday project. I desperately needed new kitchen towels, and decided to decorate them!
I liked my chicken on the scrap piece too, so I duplicated the 2nd one on a scrap. I think I will do about 4 more on the fabric and turn it into a chicken table runner ~ my scrap was actually 2 18" long pieces, so I figure I can get 3 chickens on each piece. These projects are also using my boxes of scraps that I organized in the spring. Its much easier to look through a photobox size of little scraps than a big blue tote.

These chickens came from an applique set produced by Designs by JuJu ~ https://www.designsbyjuju.com/. She has loads of designs ~ everything I have bought from her has stitched out beautifully ~ and she has great sales! If you love machine embroidery, then you should check her out! (free advertising....I just really like her designs!) New discovery ~ I just went on the site again....she has 90+ free scripture designs for download....FREE! On the homepage, click the Bible Verses box on the right side. This is exciting~at least to me!
Greg got all my new sets downloaded for me last night ~ so I am ready to explore those files today! Lots of new projects on the horizon!

 Sunday morning I got a sweet gift from a friend that knows I love chickens! These towels are adorable!
 Thankful for ~
surprises
sweet gifts for no reason
date nights with my hubby
great sales on designs
free designs
time to sew
I liked my chicken on the scrap piece too, so I duplicated the 2nd one on a scrap. I think I will do about 4 more on the fabric and turn it into a chicken table runner ~ my scrap was actually 2 18" long pieces, so I figure I can get 3 chickens on each piece. These projects are also using my boxes of scraps that I organized in the spring. Its much easier to look through a photobox size of little scraps than a big blue tote.

These chickens came from an applique set produced by Designs by JuJu ~ https://www.designsbyjuju.com/. She has loads of designs ~ everything I have bought from her has stitched out beautifully ~ and she has great sales! If you love machine embroidery, then you should check her out! (free advertising....I just really like her designs!) New discovery ~ I just went on the site again....she has 90+ free scripture designs for download....FREE! On the homepage, click the Bible Verses box on the right side. This is exciting~at least to me!
Greg got all my new sets downloaded for me last night ~ so I am ready to explore those files today! Lots of new projects on the horizon!


surprises
sweet gifts for no reason
date nights with my hubby
great sales on designs
free designs
time to sew
Thursday, June 23, 2016
Mesh Wreaths
Mom bought several rolls of the deco mesh last year from Walmart - on clearance! And then she handed them to me to do something with. They sat here for months ~ taunting me. I looked on Pinterest and found a couple of ideas, then I just decided to make up my own. You need the deco mesh~ my rolls are 30 feet long and you use 95% of that! A wire wreath frame ~ ours were 12 inches. And pipe cleaners....only they aren't called that any more. For a while they were known as chenille stems now (at Walmart) they are called Fuzzy Sticks. I guess calling them pipe cleaners inplies you are going to use them to clean your pipe. Whatever! Our art supplies now have to be politically correct. For the sake of the rebel in me....they are pipe cleaners!
 I did 2-3 loops on the inside sections of the wreath and 3 loops on the outside sections. I only did the inside and outside, the fullness of the loops fills in the middle sections. My loops were gathered about every 7 inches...but I didn't measure and do it exactly. This mesh is about 24 inches wide, so you've got a lot of fullness after you fluff the loops. This stuff is very forgiving and I don't think you could mess it up! As long as you use your pipe cleaners.....fluffy sticks! It does come in handy to clip the "sticks" in half before you start. Also, you use one continuous piece of mesh, don't clip off 7" inch pieces and do individual loops. After you fluff it out....you will fill in all the gaps.
Thankful for ~
craft supplies
clearance sales
ideas
time to craft
 |
| one package from Walmart was enough for 3 wreaths with leftovers |
 |
| Gather the mesh & twist the pipe cleaner around the end then twist the pipe cleaner to the inside ring of the form |
 |
| the inside ring is done ~ more on the mesh below |
 |
| this is what the back looks like with all the pipe cleaners |
 |
| then I twisted all the pipe cleaners neatly around the form |
 |
| the finished wreath! |

Thankful for ~
craft supplies
clearance sales
ideas
time to craft
Tuesday, June 14, 2016
Sewing/Craft Room Pictures
My sewing room has been completed for a while, but the we started on the kitchen, so everything ended up in the sewing room, pantry, sunroom or dining room table. I've reclaimed the sewing room!

Thankful for ~
a sewing room
ample room to work
a ceiling fan in the room
easy to maintain flooring
project ideas
completion on my Hawaii vacation scrapbook
 |
| our scrapbook/craft table, cart is from Moms house |
 |
| I love the vinyl tile floor~easy maintenance! |
 |
| cutting table Greg made for me |

 |
| Old China hutch from my aunts house |
a sewing room
ample room to work
a ceiling fan in the room
easy to maintain flooring
project ideas
completion on my Hawaii vacation scrapbook
Thursday, May 12, 2016
Finished Gift
Well over a year ago, I started a cross stitch picture for Greg. I would work on it when he was at work when time permitted. Then we put our house on the market, Greg retired, and we moved to Georgia. Since he was at home July - mid November, i never could work on it. When he started working here, I pulled it back out and started syitching again but only had a small section done by Christmas. I went ahead and gave him an unfinished peice....mainly so I could work on it at night when we watch tv. I finished it last Friday!
I found this pattern in a cross stitch magazine that a friend gave me. It was nice to have a pattern that reflected his tool/woodworking interests.

Thankful for-
Free patterns
Time to stitch
Homemade gifts
Completed projects
I found this pattern in a cross stitch magazine that a friend gave me. It was nice to have a pattern that reflected his tool/woodworking interests.

Thankful for-
Free patterns
Time to stitch
Homemade gifts
Completed projects
Tuesday, May 10, 2016
Onesie Quilt
 |
| Got this onesie quilt idea from a friend in Mississippi |
 |
| Jennifer saved me all of Aiden's 1st year onesies |
 |
| This bitty buddy got a onesie quilt for Christmas |
Katie is saving me onesies from her boys and she will get one quilt with a combo of onesies from the 3 boys ~ mainly because I didn't think of doing this till #3 was on the way!
Thankful for ~
gifts that count
4 little buddies
remembering their babyhood
watching 4 personalities develop
sweet hugs, kisses, and cuddles from all
Saturday, April 30, 2016
Smocking
I love little girls in smocked dress & I love to smock. I made my great niece Hailey a smocked Bishop for her 5th birthday. She is all girlie and loves dresses!


Today was a perfect day for an outdoor birthday party and Miss Hailey was beautiful in her dress. It was really sweet when she ran down the sidewalk hollering, Aunt Donna, Aunt Donna, I have on my dress you made for me!
Thankful for ~
this sweet great niece & her beautiful mommy
my great nephew's 1st birthday
a beautiful day to party
yummy barbeque for lunch
the blessing of family
And here is are 2 pictures of the birthday boy ~ my great nephew & Haileys cousin ~ Daniel
 |
| Daniel's bib is my first applique project. |
 |
| shortcut to eating the cupcake! Face plant into the icing. |
Monday, April 25, 2016
Machine Embroidery
Over the last couple of weeks, I have been making gifts with my embroidery machine ~ I discovered a "new" file in my embroidery program that had tiny designs in it that were perfect for the wash cloths I bought my mom for her birthday. And when I say discovered I mean, its always been there I just never paid much attention to it ~ the company I bought my machine from labeled this file Ornaments. To me ornaments meant of the Christmas variety, so I didn't pay much attention to it since my ornament collection was huge. I was very please with the tiny designs in the file. I did the wash cloths for mom and now I am going to do pot holders for my kitchen ~ and maybe some to add to a hope chest.


For Aprils Fools Day 2015, Annies came up with a mock up of a new mac & cheese box ~ Bunny Butts in Butter sauce ~ we thought it was funny. Everyone went crazy over this and wanted to buy these, so their joke became a new product. They did change the name to bunny tails in butter sauce. Mom had looked for these at a store and we found out they were only offered online ~ so I ordered them off Amazon for her birthday! A fun, useful, edible gift!
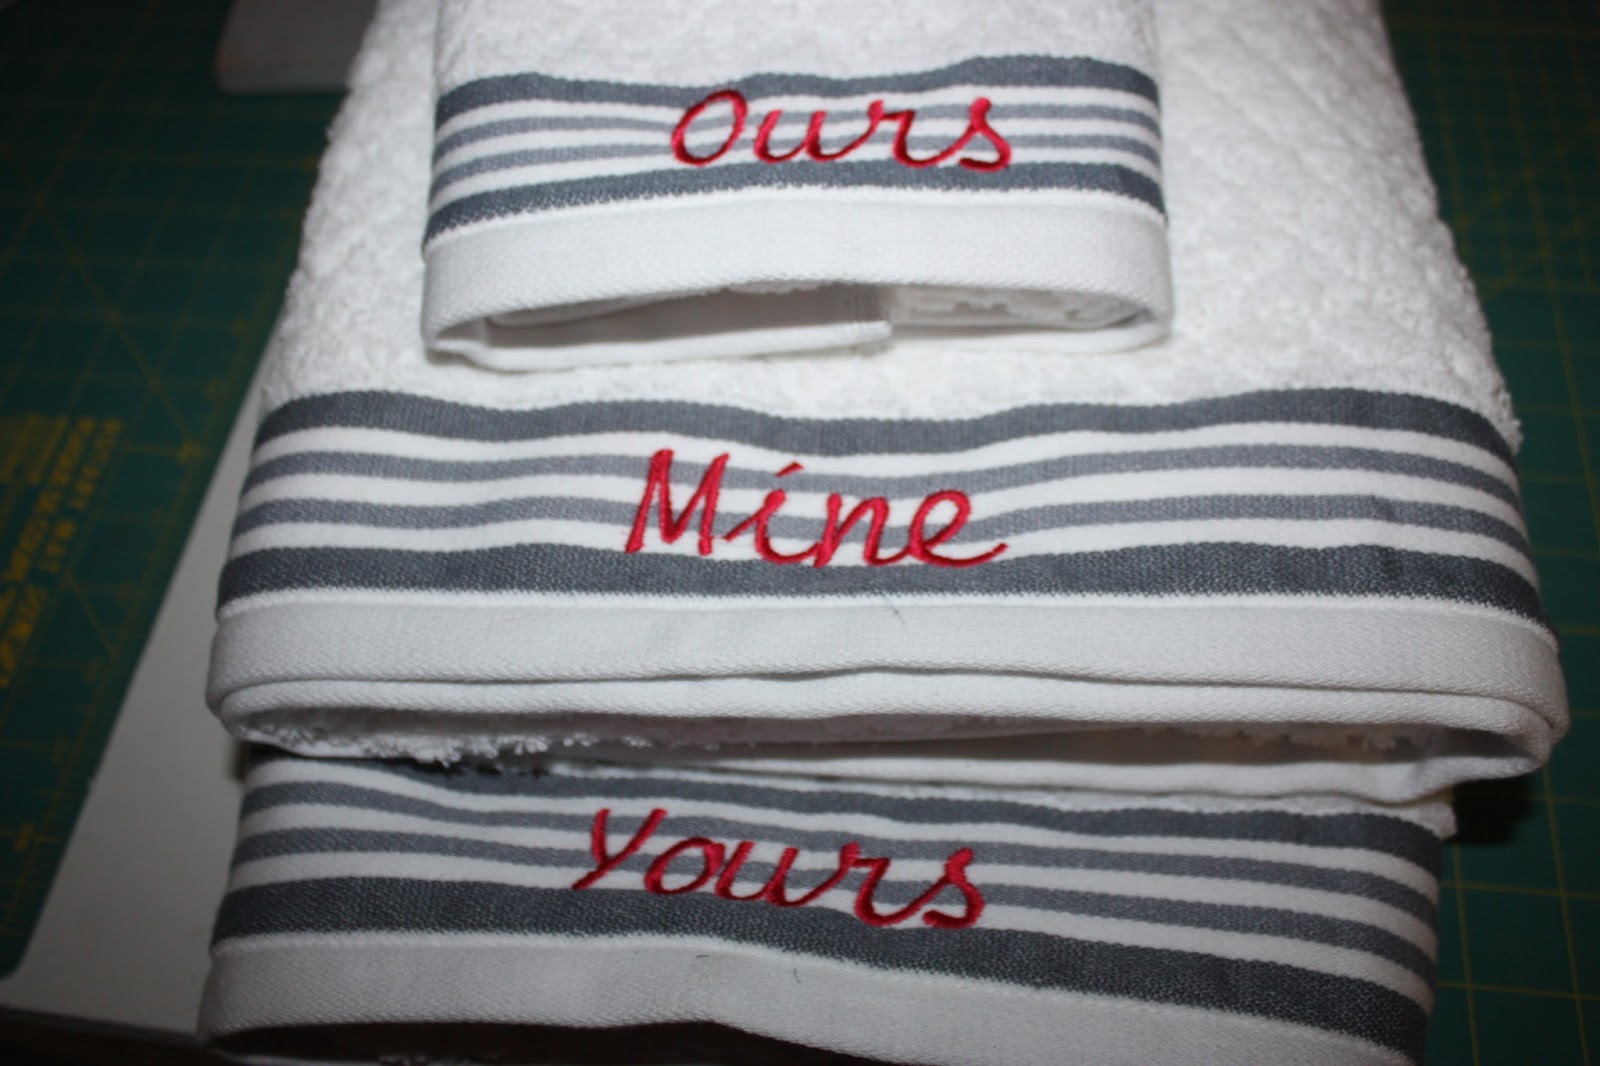 |
| Bath towel set for a wedding gift ~ fullsize towels are labeled Yours & mine, hand towel is Ours |
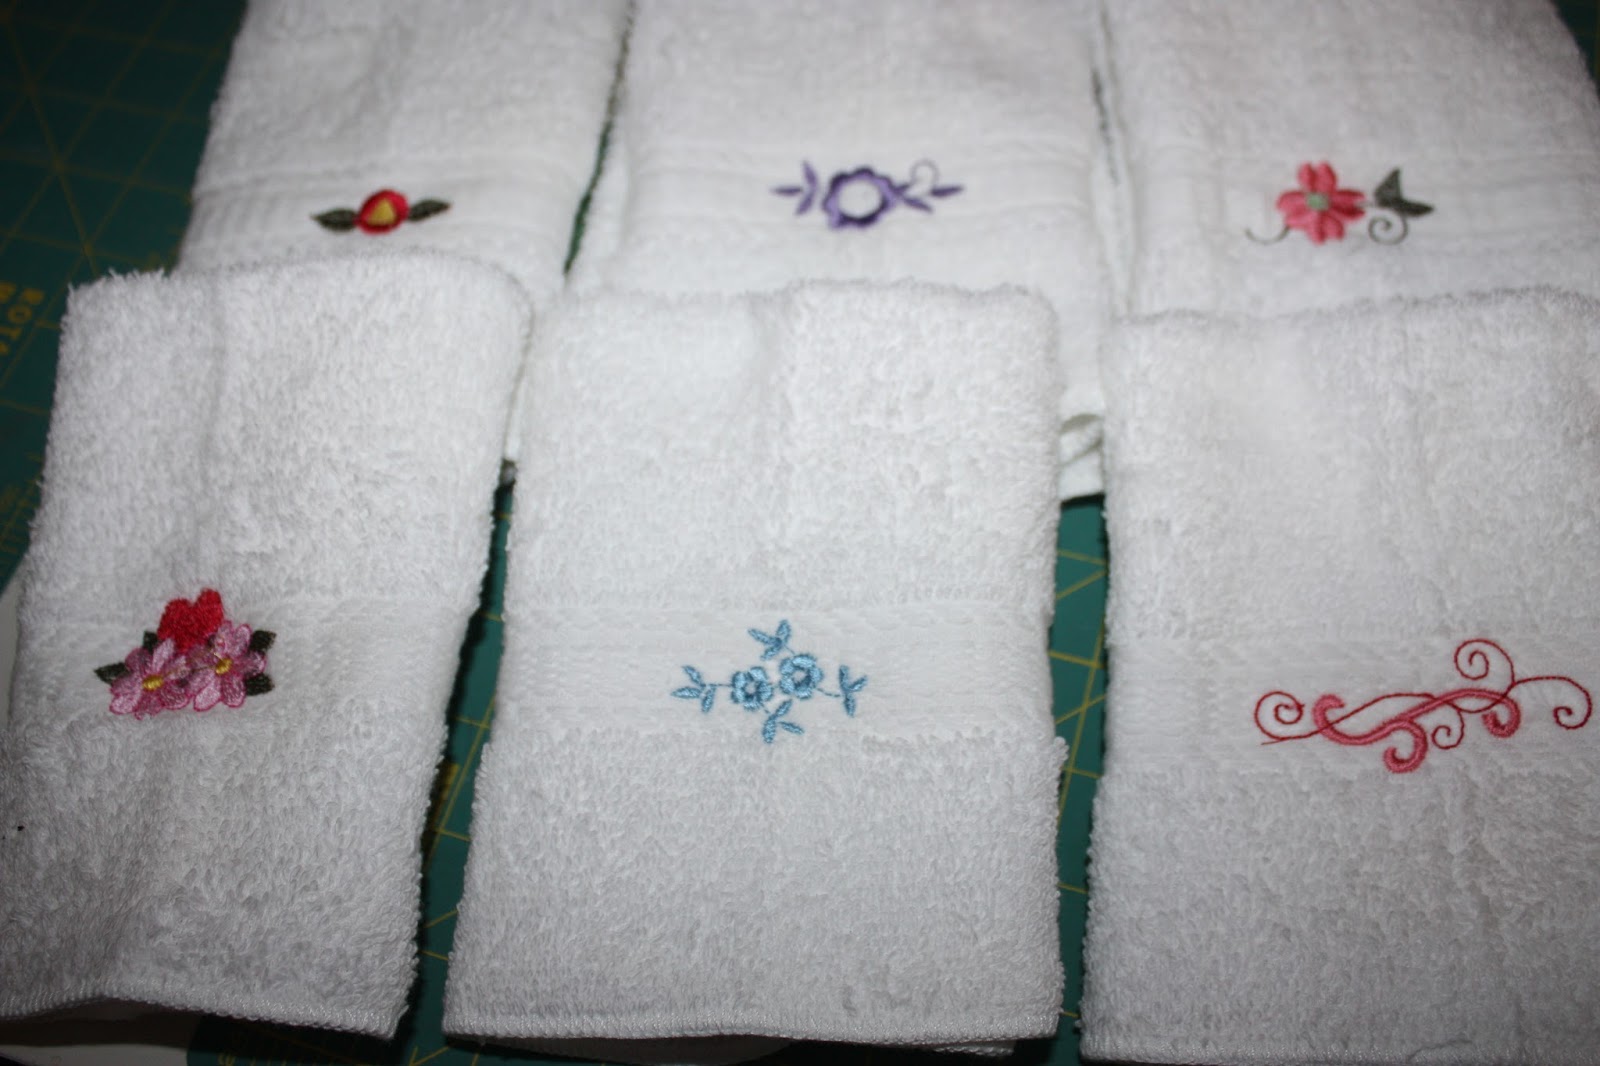 |
| Pretty little "ornaments" from the file |
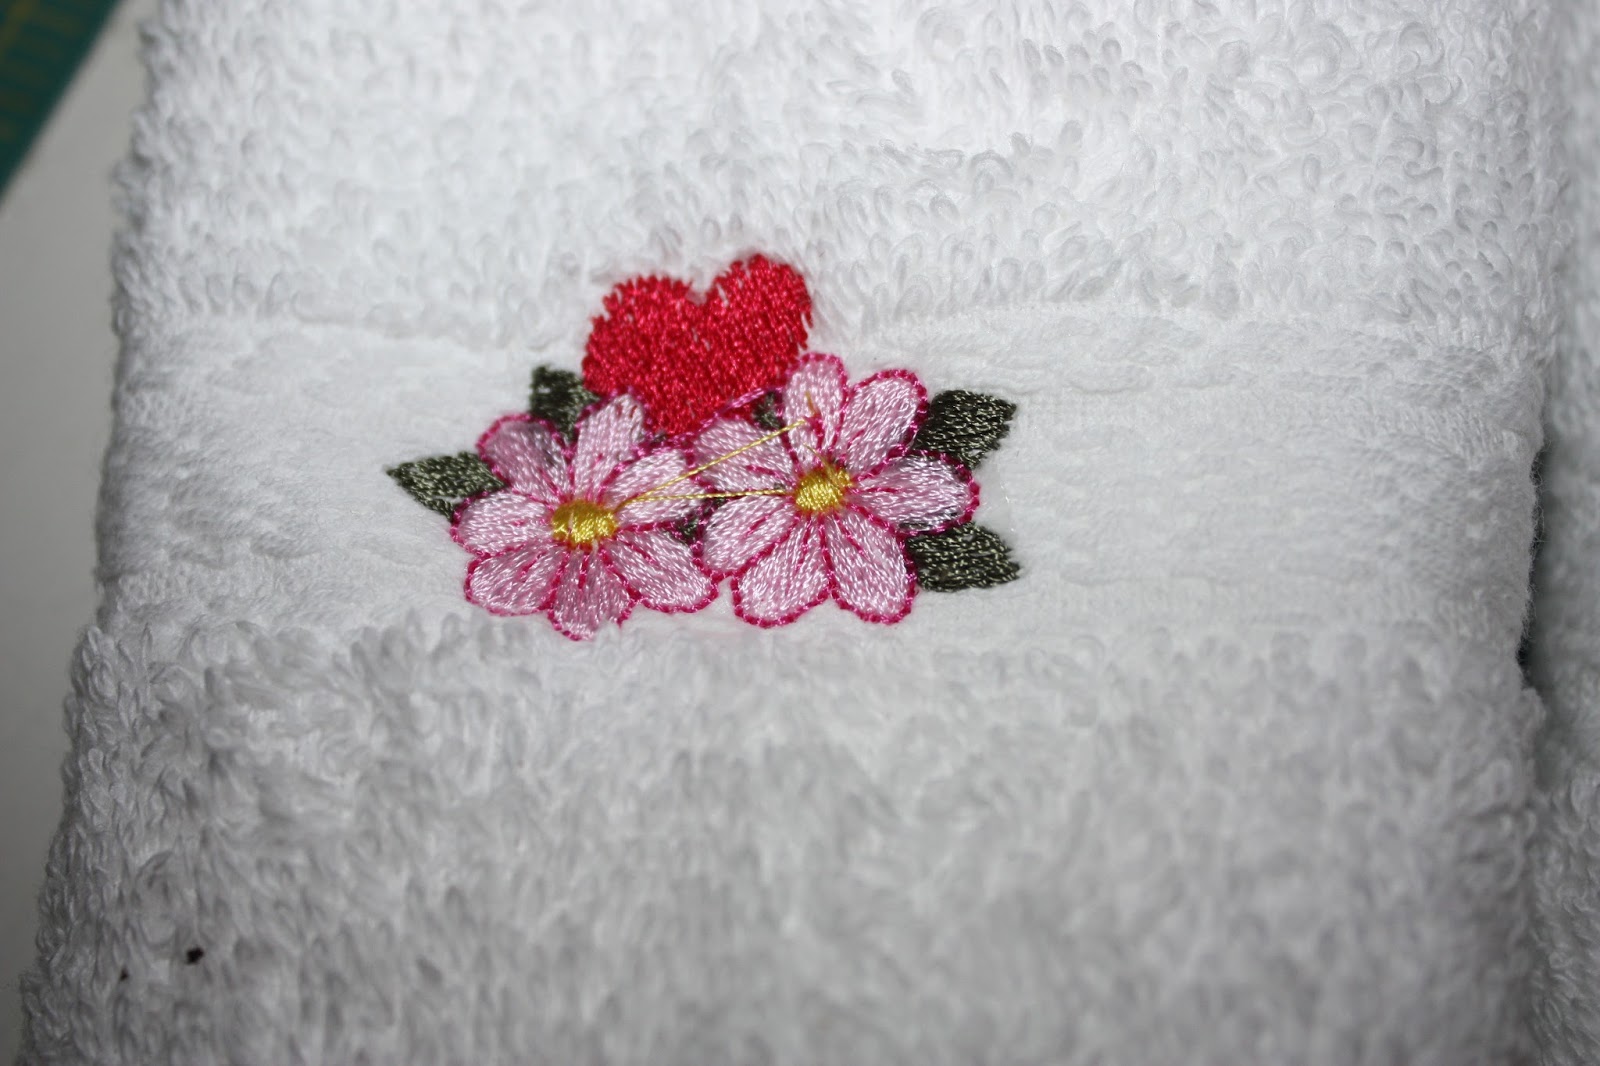 |
| The tiny details are gorgeous ~ I did change some of the colors to show up on the white cloths |
 |
| this size is probably 1 x 1/5 inches |


 |
| Another towel set for a shower gift |
 |
| Moms other birthday gift ~ story below |
 |
wedding gift all ready for giving!
Thankful for ~
discovering treasures I didn't know I had
time to create
fun ideas
making gifts for other people
DIY projects
|
Subscribe to:
Posts (Atom)